Return to table of contents
Note: the blue ovals in the pictures below are just to help
identify the buttons that are being discussed - they do not appear in
WebPics.
- Start WebPics
Double-click on the WebPics icon to start it (you may have already done this). An empty
document window is created. For now ignore the stuff about registering
and entering codes, just wait for the button to count down and click on Try It!
- Add Pictures
Click on the 'Add Pictures' button.
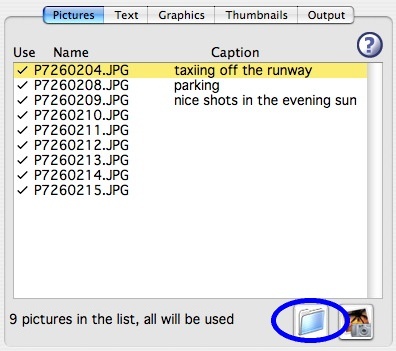
A file selection dialog will come up. Select the pictures
that you want to use. In the file dialog, hold down the shift key and
click to select more than one picture. Click on the 'Add' button to
put the selected pictures into the list.
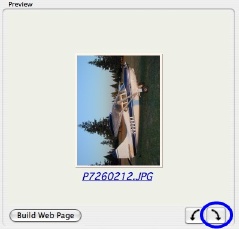
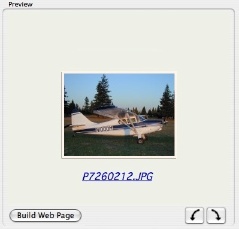
You can select the pictures in the list by clicking on the name
or moving up and down with the up and down arrow keys. Some pictures
will need to be rotated (typically when the camera is rotated when
the picture was taken). If one of your pictures needs to be rotated,
select it in the list and click on the appropriate rotate
button.
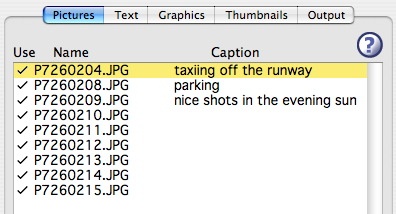
- Captions
Often the picture files will have names that are generated by
the digital camera that they were taken with. Adding captions to the
pictures is a good way to give the viewers of your web page some
information about each picture. Click in the area to the right of the
first picture in the list below the word 'Caption'. This will start
the editing for the first picture's caption.
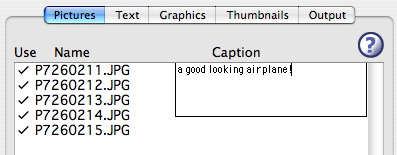
Type in the caption for the first picture. Hit the 'tab' key
to enter a caption for the next picture. Go ahead and add captions
for all of the pictures - or don't, captions are definitely
optional.
At this point it would be a good idea to save your work.
Select the 'Save' item from the 'File' menu (or type  ) and save
your WebPics document with an appropriate name.
) and save
your WebPics document with an appropriate name.
- Text Options
Click on the 'Text' tab for this next step. Do this now.
Three text items can be setup for your photo gallery web
page. The first is the title of the page. The title is displayed
centered at the top of the page. There are also two text descriptions
that can be added - one for the top of the page (just under the
title) and one for the bottom of the page (just past the
pictures).
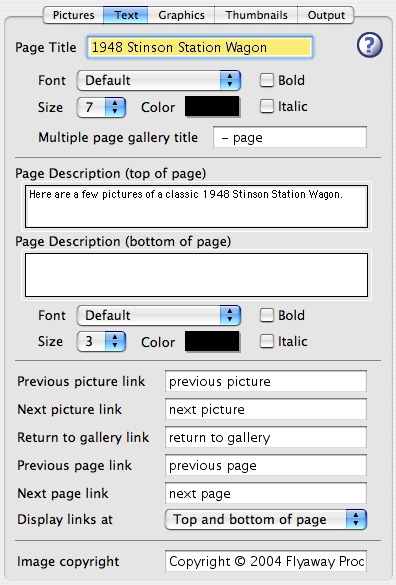
Click in the page title edit area and type in the title. Hit
the tab key to move to the page description edit areas. The
descriptions are optional, but it is a good idea to provide a title
for your web page.
For both the title and the descriptions, the color, size and
style of the text can be setup. Clicking on the color swatch brings
up a color picker to select the desired color (I always go straight
to the 'Crayon Picker', it is the one that I understand the best!).
The size of the text is controlled by selecting a number from the corresponding
popup menu - the bigger the number the bigger the text. Finally, the
text styles bold and italic can be applied by clicking on the
respective check boxes.
Don't worry about the various link editing areas - we can use the default
settings.
When you are done setting up the text options, hit to save
your changes.
- Graphic Options
Click on the 'Graphics' tab for this next step. Do this now.
The background color or image for your photo gallery web page
can be setup in the Graphics Options. For this Quick Start we will
only deal with the background - the remainder of the options are
fully covered in the reference sections.
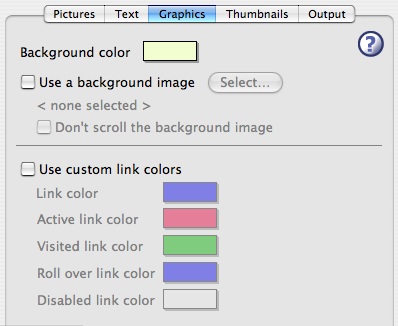
Click on the background color swatch to select a color for
your web page. Usually lighter colors work best for
backgrounds.
A bit more advanced is using a background image for your web
page. If you want to use an image (picture) as the background for
your web page click on the check box labeled 'Use a background
image'. A file dialog will appear allowing you choose an image file -
you can select either a JPEG or GIF type image file for the
background. The background image is repeated in a 'tiled' fashion on
your web page.
The custom link color stuff is covered in the reference
section.
The selections made for background color or image will be
shown in the preview area on the left side of the window.
When you are done setting up the graphic options, hit to save
your changes.
- Thumbnail Options
Click on the 'Thumbnails' tab for this next step. Do this now.
There are many options in the Thumbnails tab. For this Quick
Start we will hit a few and the remainder will be explained in detail
in the reference section below.
The number of thumbnails in each row is selected from the
first popup menu. Typically three of the large size (see below) are
about right - if you select a smaller thumbnail size you might want
to have four or five in each row.
Select the caption text position from left, right, above or
below the thumbnail picture. The caption text font, color, size and style
is setup in the same way as the title or description text. These
options are reflected in the preview area - this allows for easy
experimenting.
Select the size of the thumbnails - large is nice, but they
take longer to load over a slow internet connection than the smaller
sizes.
The next three options control the look of the borders that
are created around the thumbnail pictures. Instead of going into a
lot of detail here, just experiment with the various setting to find
a combination you like. If you want no borders on your thumbnails
select 'None' in the border width popup.
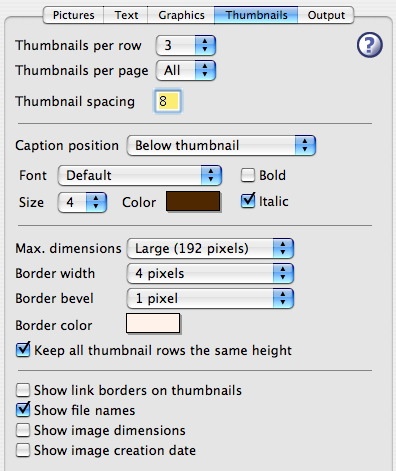
Play around with the various options until you get thumbnails
that you like.
When you are done setting up thumbnail options, hit to save
your changes.
- Output Options
We won't go into the output options in the Quick Start - the
default setting will be just fine for your first photo gallery web
page. See the reference about Output Options
for more details.
- Making a Web Page
Okay, the big moment has come. Hit to save everything.
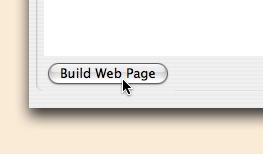
In a moment you will click on the 'Build Web Page' button in the lower
left corner of the window. Here is what will happen:
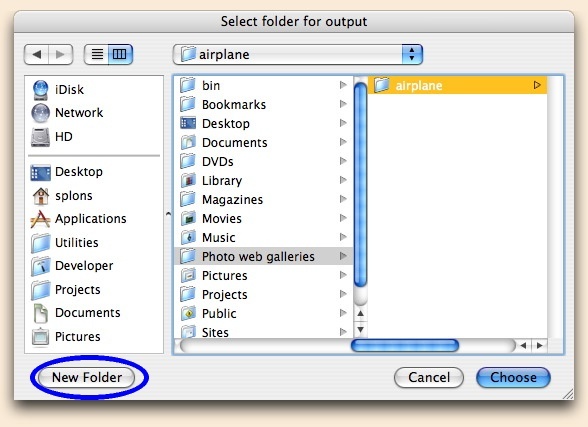
- a file dialog will come up to let you select a folder to
put the web page in - probably the best option is to click on the new
folder button and make an empty folder for your web page - select the
folder and click on the Choose button
- WebPics will then process all of the pictures in the list
and build the necessary web pages and pictures files
- finally, WebPics will show you the newly created web page in your web
browser - often this will happen in the same browser window that you are reading
these instructions in - if so, just hit the 'Back' button in the browser to get back here
Click on 'Build Web Page'!
If you want to make changes to your web page, switch back to
WebPics, make the changes, click on the 'Build Web Page' button again.
This time just select the folder that you created the first time -
WebPics will put the new items into the same folder and then open it
in your web browser for you to try out. More details about the building
of web pages are available here.
Return to table of contents
© 1998-2006 M3 Software Developers, Steve Splonskowski, all rights reserved.