|
|
|
|
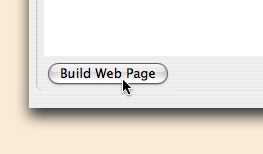
Once you have selected your images and adjusted all of the settings for you web page just right it is time to build it! Click on the Build Web Page button in the lower left of the window or select the Build Web Page Menu item from the File menu.
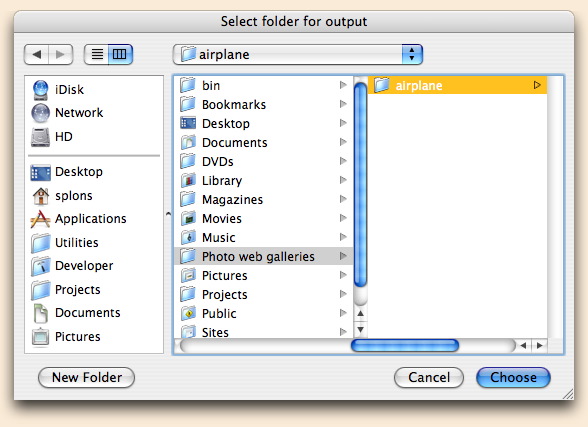
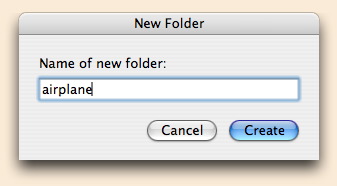
If this is the first time that you have built the pages for this document you need to select where WebPics will put the files for your web page. A folder selection dialog will be displayed. It is best to click on the New button to create a new folder. Once you have located the folder that you want to put the web page files into, click on the Choose button.
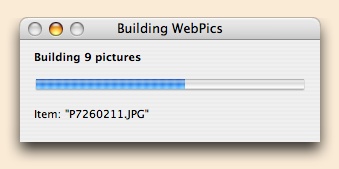
The building process will begin. A small window shows the progress of the build. While the web pages and images are begin constructed you can click elsewhere to switch to another application (this will slow down the build process, but will let you do something else while it is busy).
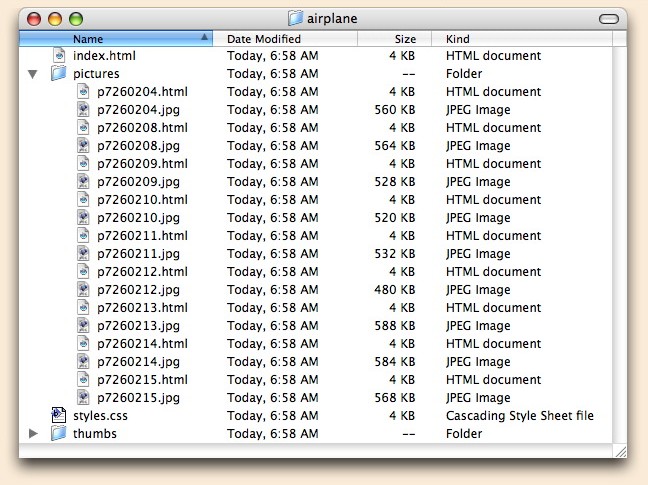
Note: if you have turned off the 'Make HTML page for each picture' option in the Output options, you will not have the individual HTML files for each picture).
If your web page is just right your are done. If not, go back to WebPics, make the necessary changes and click on the Build Web Page button again (and again and again)!